
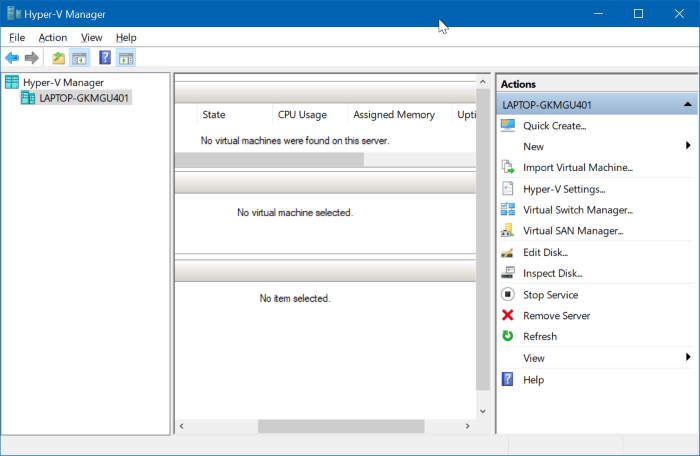
The built-in Hyper-V tool in Windows 10 lets you create and run virtual machines. It supports all releases of Linux, FreeBSD, and Windows operating system.
IMPORTANT: Hyper-V is not part of the Windows 10 Home edition. It’s available only in Pro, Enterprise and Education editions. Also, Hyper-V does not support 32-bit Windows 10, even if you are running Enterprise, Education or Pro.
Hyper-V requirements
1. Windows 10 Pro, Enterprise, or Education edition
2. 4 GB or more RAM
3. 64-bit processor with SLAT
4. CPU support for VM Monitor Mode Extension (VT -c on Intel CPUs)
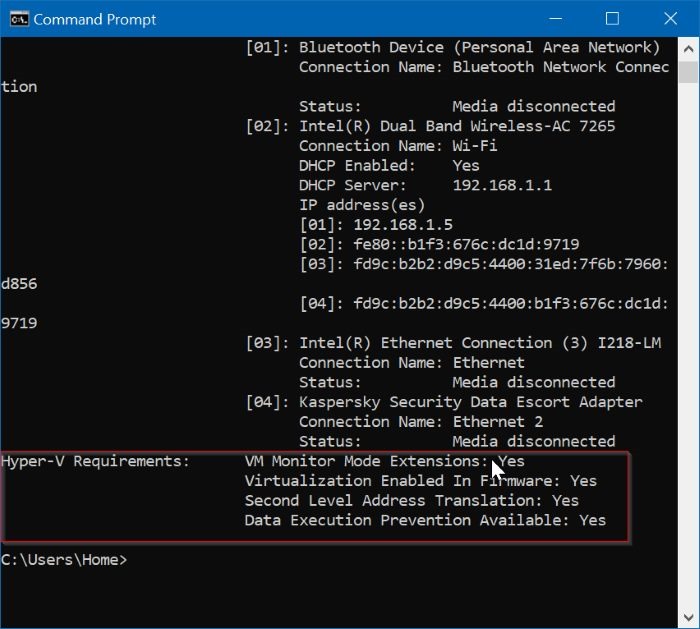
Check if your PC supports Hyper-V
Step 1: Open the Command Prompt. Type Systeminfo and then hit the Enter key.
Step 2: Navigate to the Hyper-v Requirements section to know if all features required for Hyper-V are turned on.
While the Hyper-V is a built-in feature, it’s not enabled by default. You need to enable the Hyper-V feature to be able to use it.
Windows 10 offers multiple ways to enable the Hyper-V feature. You can enable it via Control Panel, PowerShell or DISM.
Complete the given below directions to enable the Hyper-V in Windows 10.
Method 1 of 3
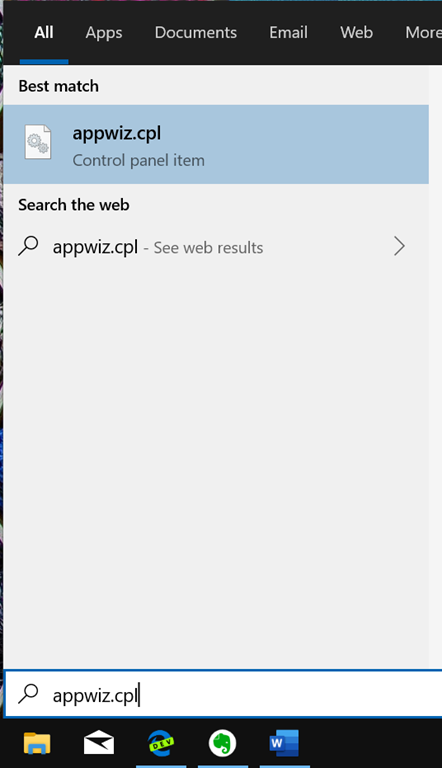
Enable Hyper-V via Control Panel
Step 1: Type appwiz.cpl in the Start/taskbar search box and then hit the Enter key to open Programs and Features window.
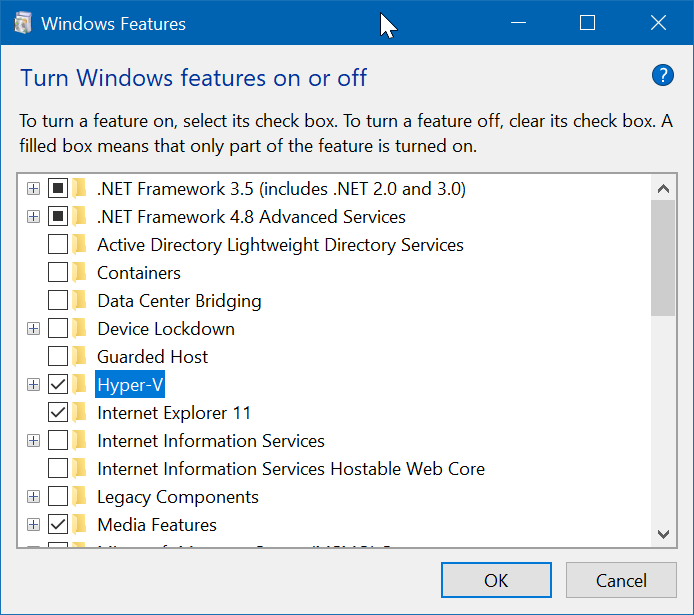
Step 2: On the left pane of the window, click the Turn Windows features on or off link. Clicking the link will open Windows features window.
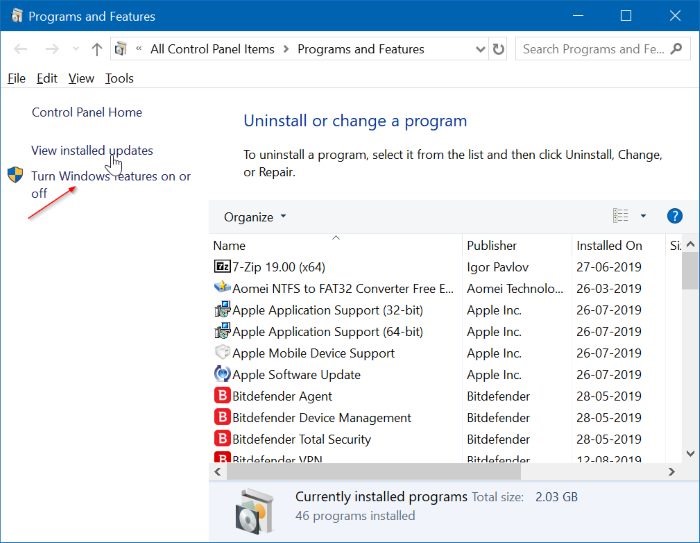
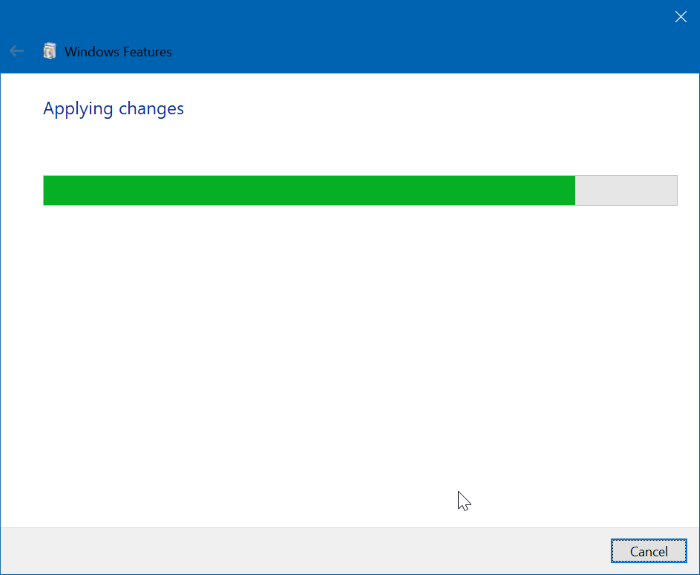
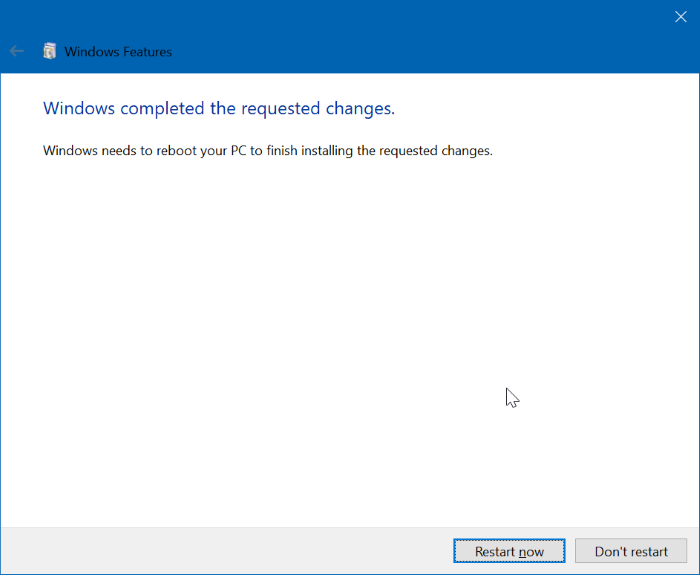
Step 3: Here, locate the Hyper-V entry. Select the checkbox next to the entry and then click the OK button.
Method 2 of 3
Enable Hyper-V via PowerShell
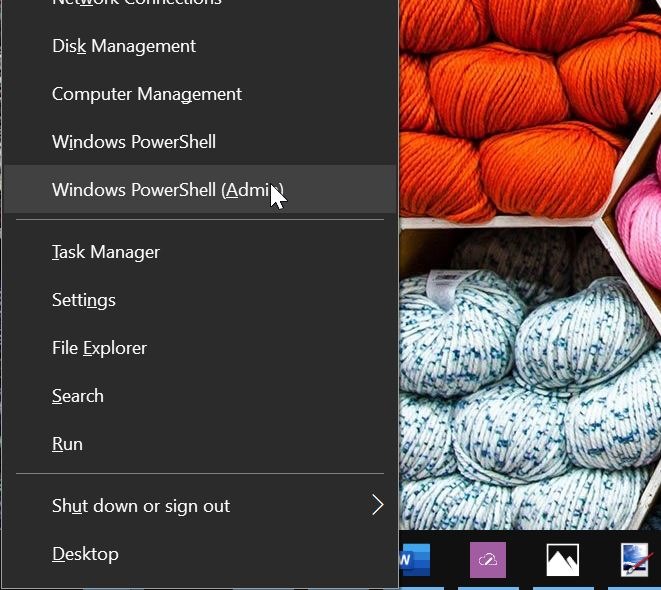
Step 1: Open the PowerShell as an administrator. To do so, right-click on the Start button, and click Windows PowerShell (admin).
Click on the Yes button when you get the User Account Control prompt.
Step 2: At the PowerShell window, copy and paste the following command:
Enable-WindowsOptionalFeature -Online -FeatureName Microsoft-Hyper-V -All
Press the Enter key to run the command.
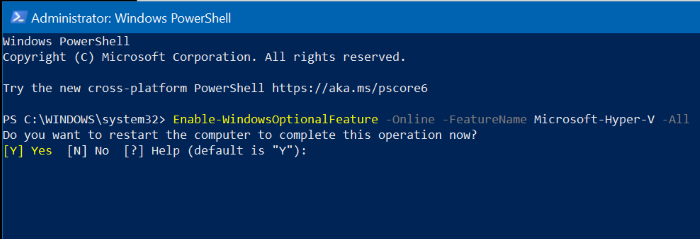
Once the installation is completed, restart your computer.
Method 3 of 3
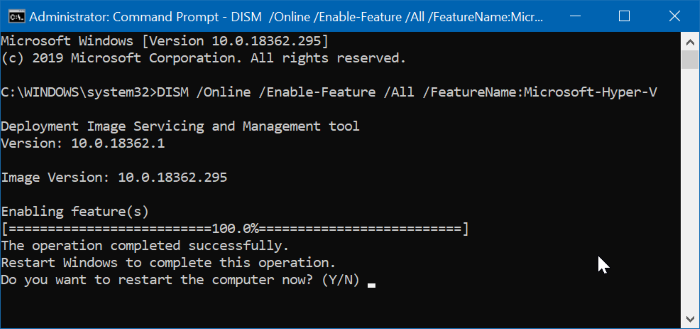
Enable Hyper-V via Command Prompt and DISM
Step 1: Run Command Prompt as administrator.
Step 2: Copy and paste the following command at the Command Prompt window and hit the Enter key:
DISM /Online /Enable-Feature /All /FeatureName:Microsoft-Hyper-V
No comments:
Post a Comment